Visual note-taking for students and teachers
Reading time: about 7 min
Topics:
For many students, traditional note taking is a mindless, rote activity. While the teacher lectures or gives a presentation, students record page after page of written notes—it’s a scenario we’re all familiar with.
And though written notes are better than nothing, they aren’t always the most effective way for students to learn material. Too often it’s in one ear, jotted down in the notes, and out the other—especially when students use computers to take notes.
Here’s the problem: Most students (and teachers) aren’t aware of any alternative note taking techniques. It’s either written notes or nothing at all. That’s where this blog comes in.
In this post we’ll break down the what, why, and how of visual note taking, a powerful learning tool inside the classroom and out.
What is visual note-taking?
When people hear the term visual note-taking, they often picture a page full of doodles, sketches, or full-on illustrations: Heavy on the visuals, with little to no written information. While this style of note taking is a form of visual note-taking (known as sketchnoting), it’s just one of many approaches to the practice.
Most approaches to visual note-taking combine written and visual elements to record information in a way that is organized, easy-to-digest, and visually appealing. Information is typically structured using a consistent, logical format, such as a chart or diagram.
One of the best aspects of visual note-taking is its flexibility. There’s no right way to do it, so get creative and find the text to visuals ratio that works for you!
Benefits of visual note-taking
We all know the saying “if it’s not broken, don’t fix it.” And you might be thinking the same thing about visual note-taking: Why should students stop using traditional note-taking methods if they’ve worked for so long?
Well, traditional note taking doesn’t work. At least not as well as it could. And certainly not for every student. Here are three common benefits of using visual note-taking techniques below:
1. Keep students’ attention: No matter how you slice it, simply writing information down is, well, boring. Nothing puts a student to sleep like an hour of traditional note taking. Most visual note taking techniques, on the other hand, require student engagement.
In order to organize information in a visual format, students can’t simply write exactly what they hear—they have to process the information, make connections, and decide where and how to record that data. This requires far more attention and engagement from each student.
2. Organization: When it comes time to review your notes, there’s nothing more frustrating than wasting time searching for that one bit of information on that one page. And when your notes are page after page of written text, the process can take a while.
With visual notes, the information you’ve recorded is easier to digest. Similar ideas are often grouped together, making it easy to track down specific bits of information and to review your notes as a whole.
3. Information retention: Remember what we said before? Too often the information presented in class goes in one ear, is automatically written down, and goes straight out the other ear. Because visual note taking requires more engagement from students, it also helps them retain information. The processes of making connections and thinking critically about the subject matter are built into the note taking process.
Tips for visual note-taking
So, what does visual note taking look like in practice? And how can students and teachers get the most from their visual notes?
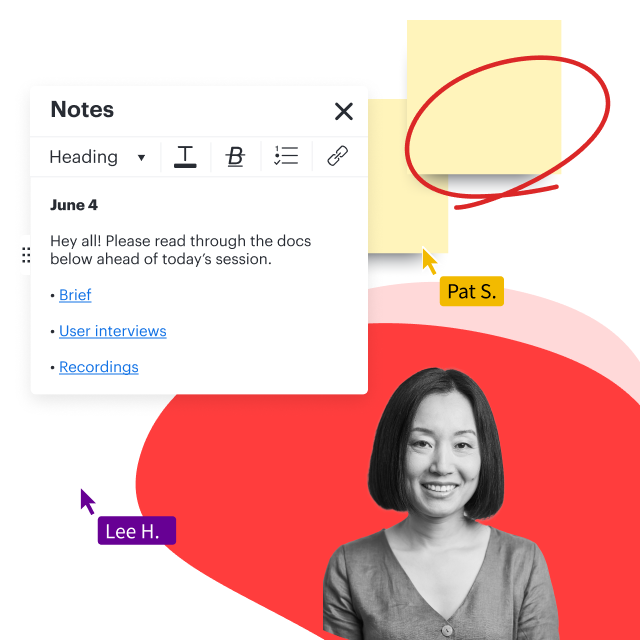
By now, you’ve probably realized something: Visual notes can be taken by hand or on a computer, tablet, or other electronic device. Both methods are effective, but electronic devices offer certain advantages, especially in today’s world of remote, asynchronous, and hybrid learning environments.
As you create visual notes, keep these tips in mind:
Add images: If you’re creating your notes electronically—whether it’s with Lucidspark or another similar platform—be sure to include images. Everything from charts and tables to photographs of key figures can help enhance your visual notes. The brain processes images differently than text, so by adding images you are engaging different parts of your brain in the learning process.
Use connectors: In written notes, the connections and associations between ideas are not always clear. Visual notes offer an easy solution: Use connectors! This can be as simple as drawing lines between related ideas and terms, but there’s room for more complicated systems too.
The more types of connectors you introduce, the more types of relationships you will be able to visualize in your notes. Consider using dotted lines, arrows, and even color coded connectors.
Vary your text formatting: Even in traditional handwritten notes, students often vary the size, color, and style of their writing to indicate headers, subheaders, and other organizational elements. Don’t ditch this practice when you switch to visual notes.
If you are creating visual notes electronically, the possibilities for text formatting are endless. You can use text formatting to make your visual notes more organized and, as a result, easier to digest.
Colors: Color coding is another holdover from tradition note taking. Remember the kid in your ninth grade biology class with ten different colors of pens for color coding their notes? Be that kid. In visual note-taking, you can color code a whole lot more than text. Everything from containers to sticky notes to connectors can be color coded to make your notes more effective.
Visual note-taking techniques
Think of each visual note-taking technique as a tool in your note-taking toolbox—the more techniques you learn and become comfortable using, the better your notes will be. No matter the information being taught, you’ll have a note-taking technique to record it in an organized, easy-to-digest manner.
Four of the most common visual note taking techniques are:
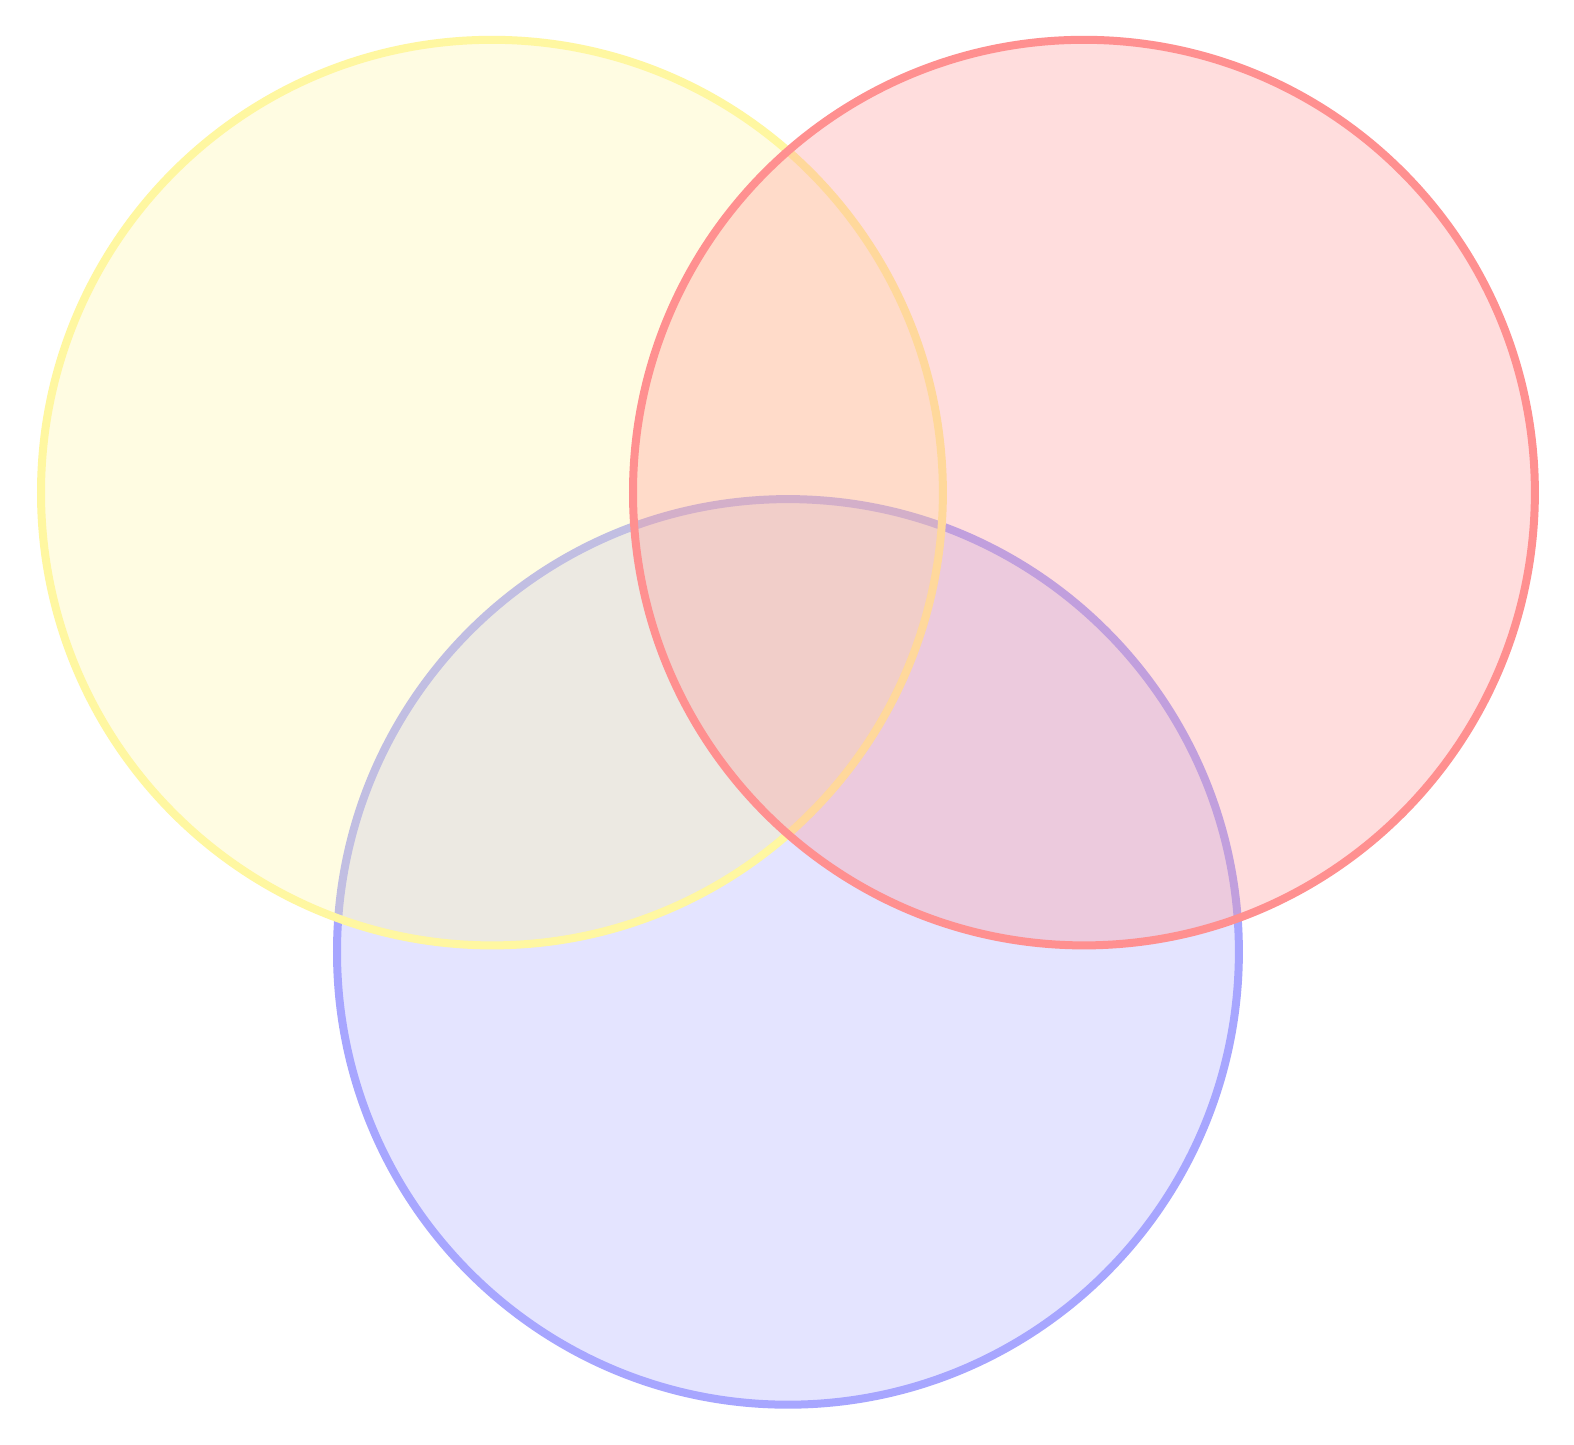
1. Venn diagrams
If you’ve ever had to compare and contrast ideas, there’s a good chance you’ve used a Venn diagram. And if you haven’t, you probably should have. Venn diagrams are a simple way to record the differences and similarities between two things—these could be ideas, subjects, people, etc.
Each overarching idea in a Venn diagram is represented by a circle. These circles overlap with one another, and any commonalities are written in the area of overlap. If you’re having a hard time visualizing it, why not jump right in and give it a shot with a Venn diagram template?
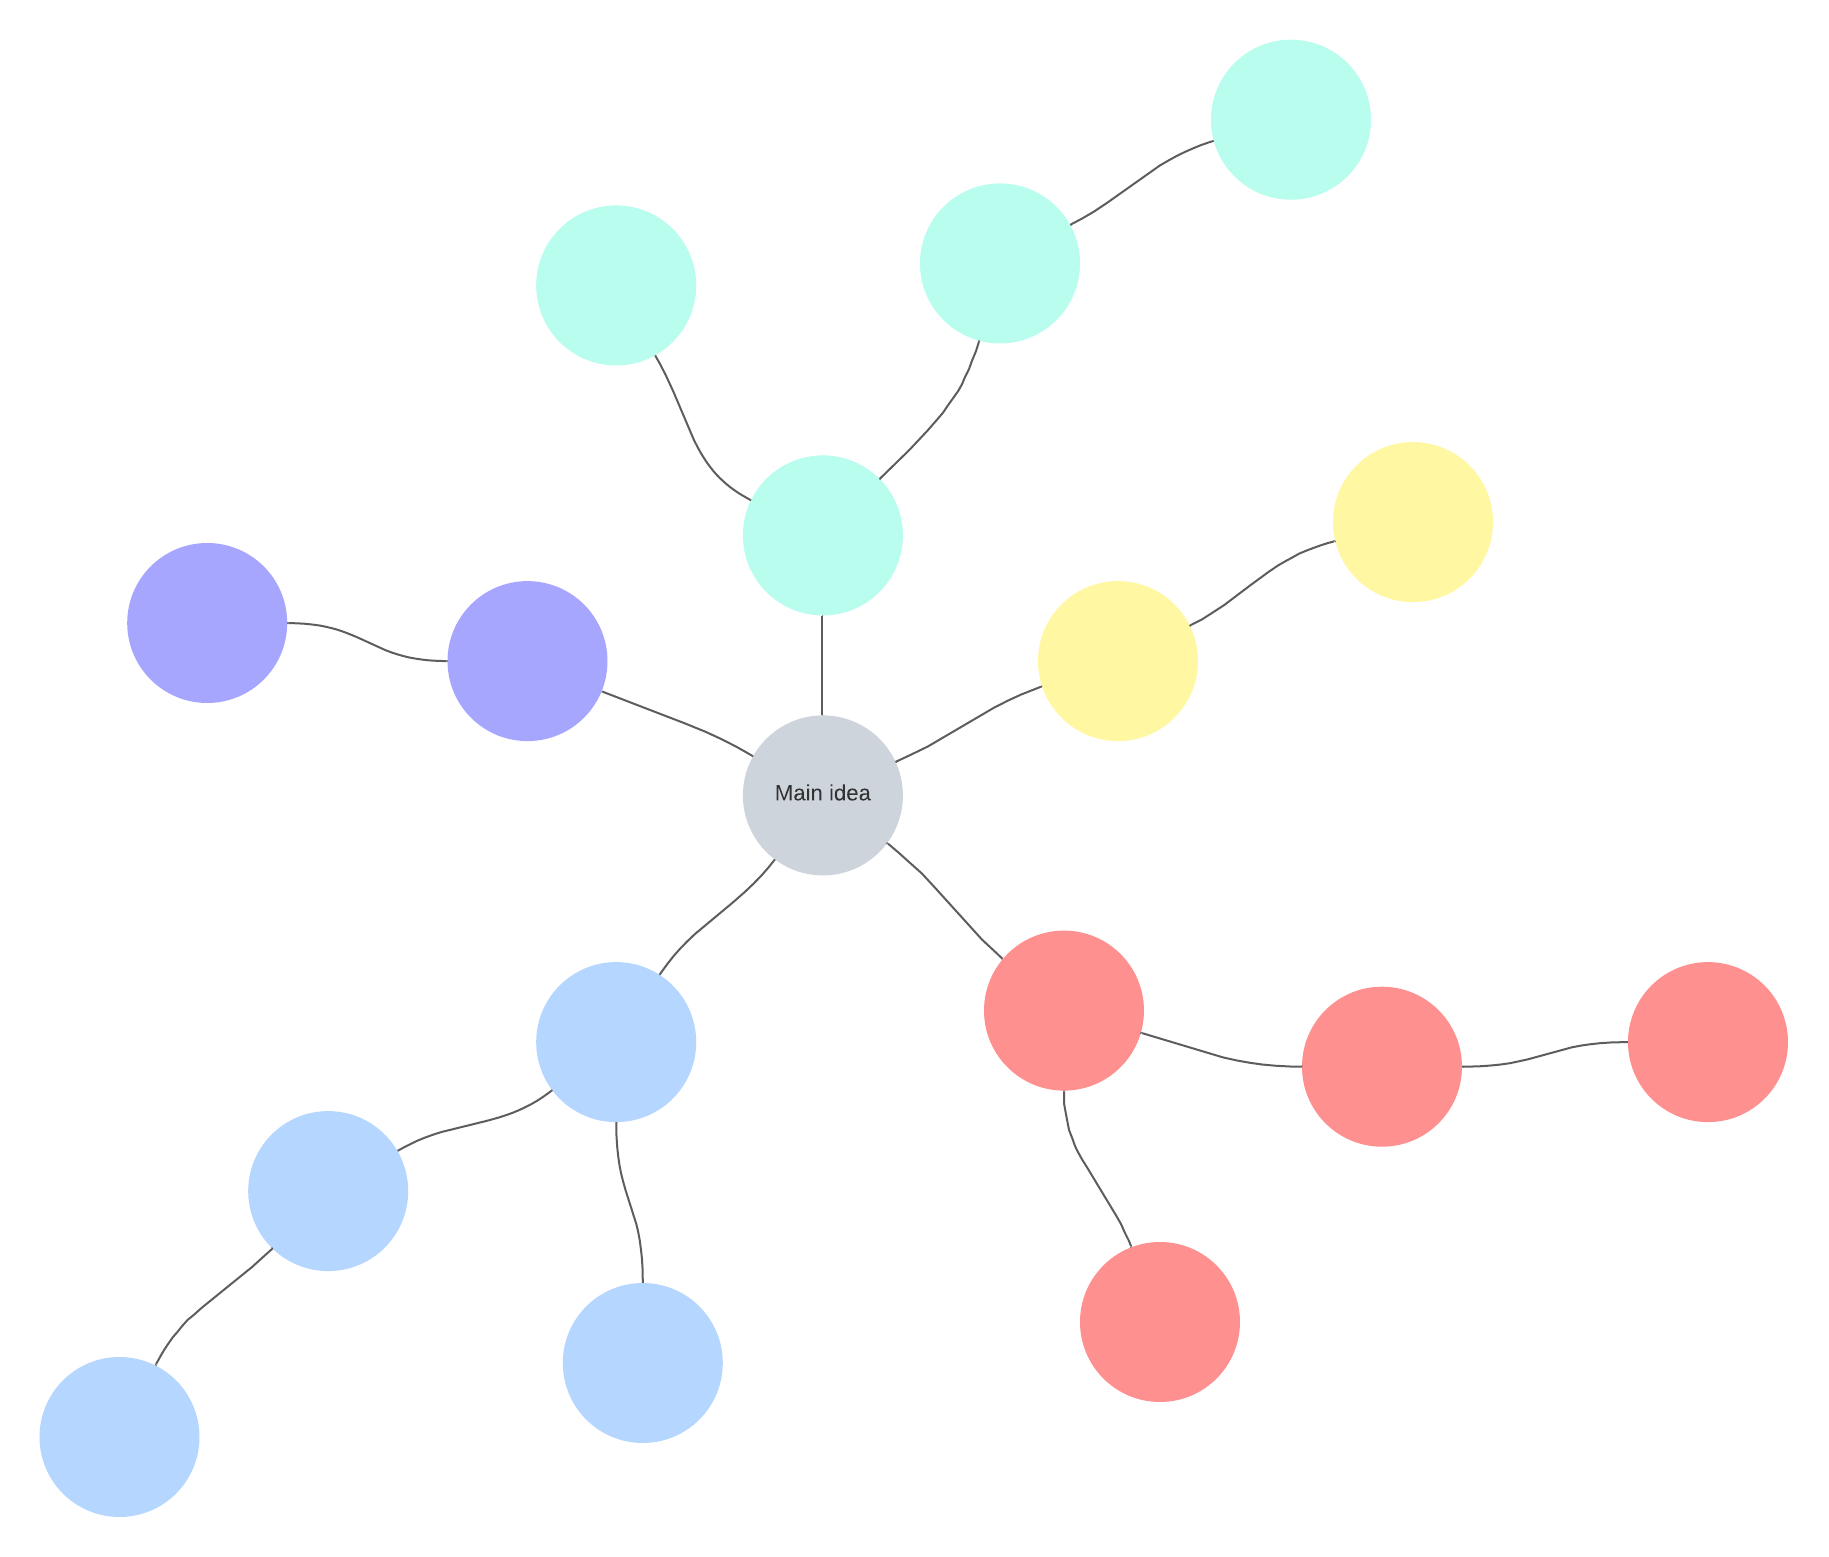
2. Mind maps
Mind maps are often used as a brainstorming technique, but they can also help you organize information in your notes. In a mind map, the central or main idea is placed at the center, with arms branching off to each smaller idea. Those branches then branch off into even smaller ideas and so on.
To get started, draw a circle (or other shape) and write your main idea in the center. As sub-categories are introduced, draw more shapes branching off from your main idea—connect them with lines. Or skip the setup and get right into the note taking process with our mind map template.
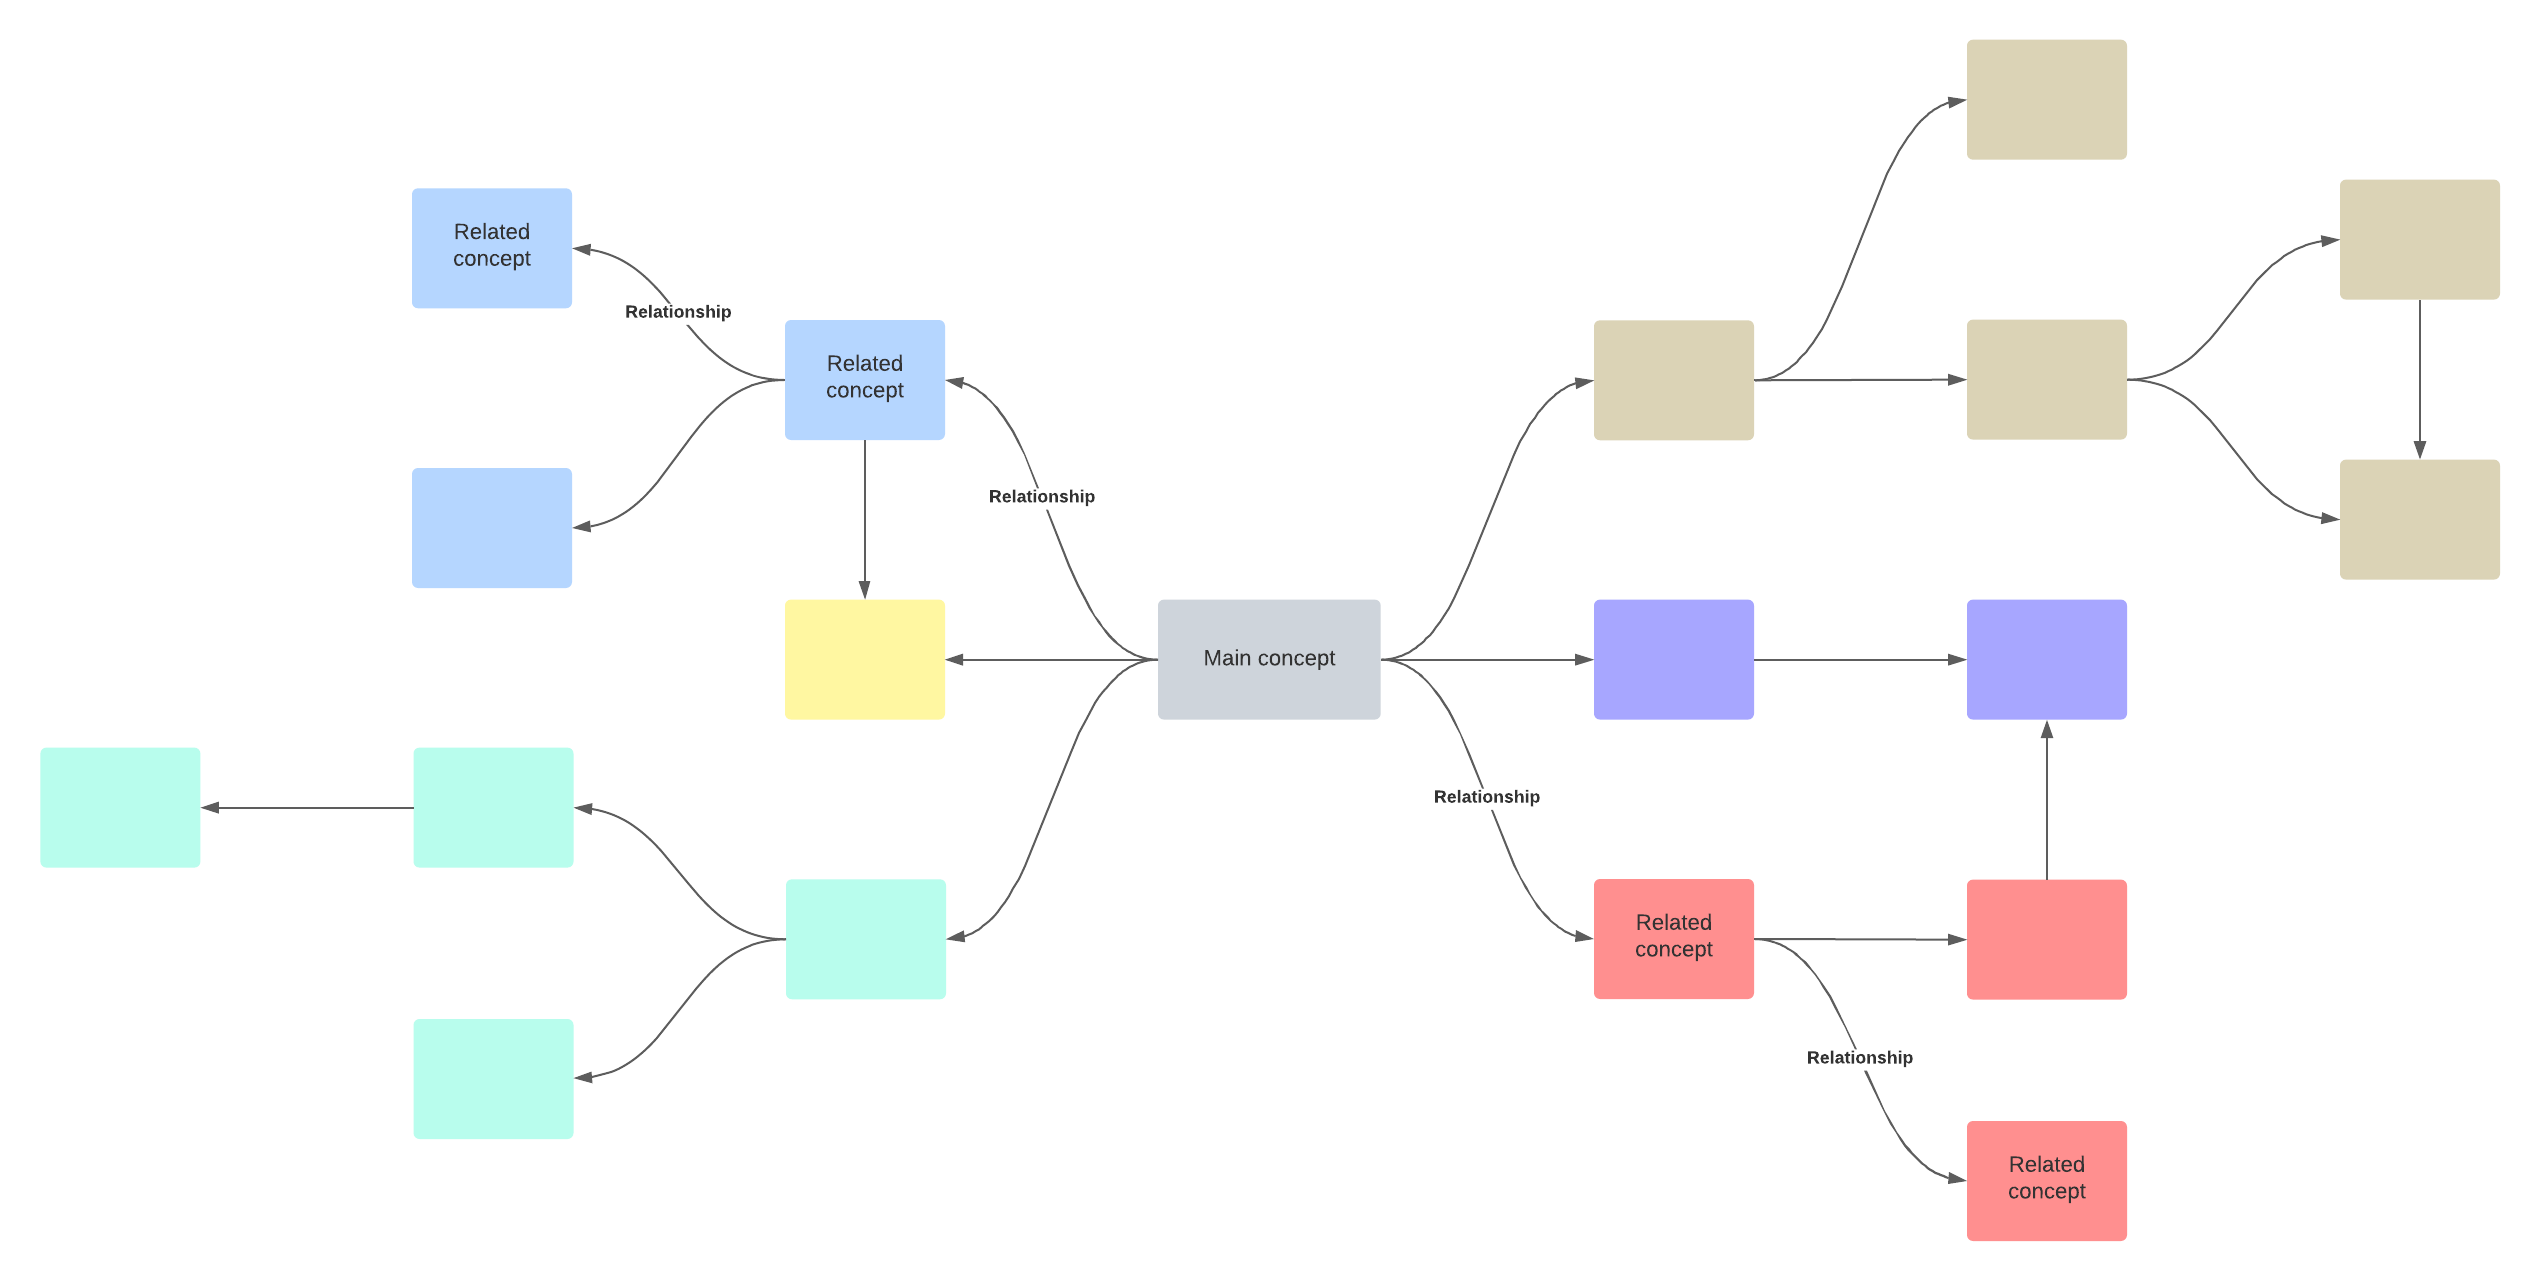
3. Concept maps
Concept maps look a lot like mind maps. The information in mind maps and concept maps is structured the same way: A central idea is placed at the center with smaller ideas branching off. The primary difference is in the connectors.
Whereas mind maps simply use lines to connect ideas, concept maps use arrows and labels to represent the relationships between each idea. You can even color code your boxes—just like in this concept map template—to add more clarity and organization.
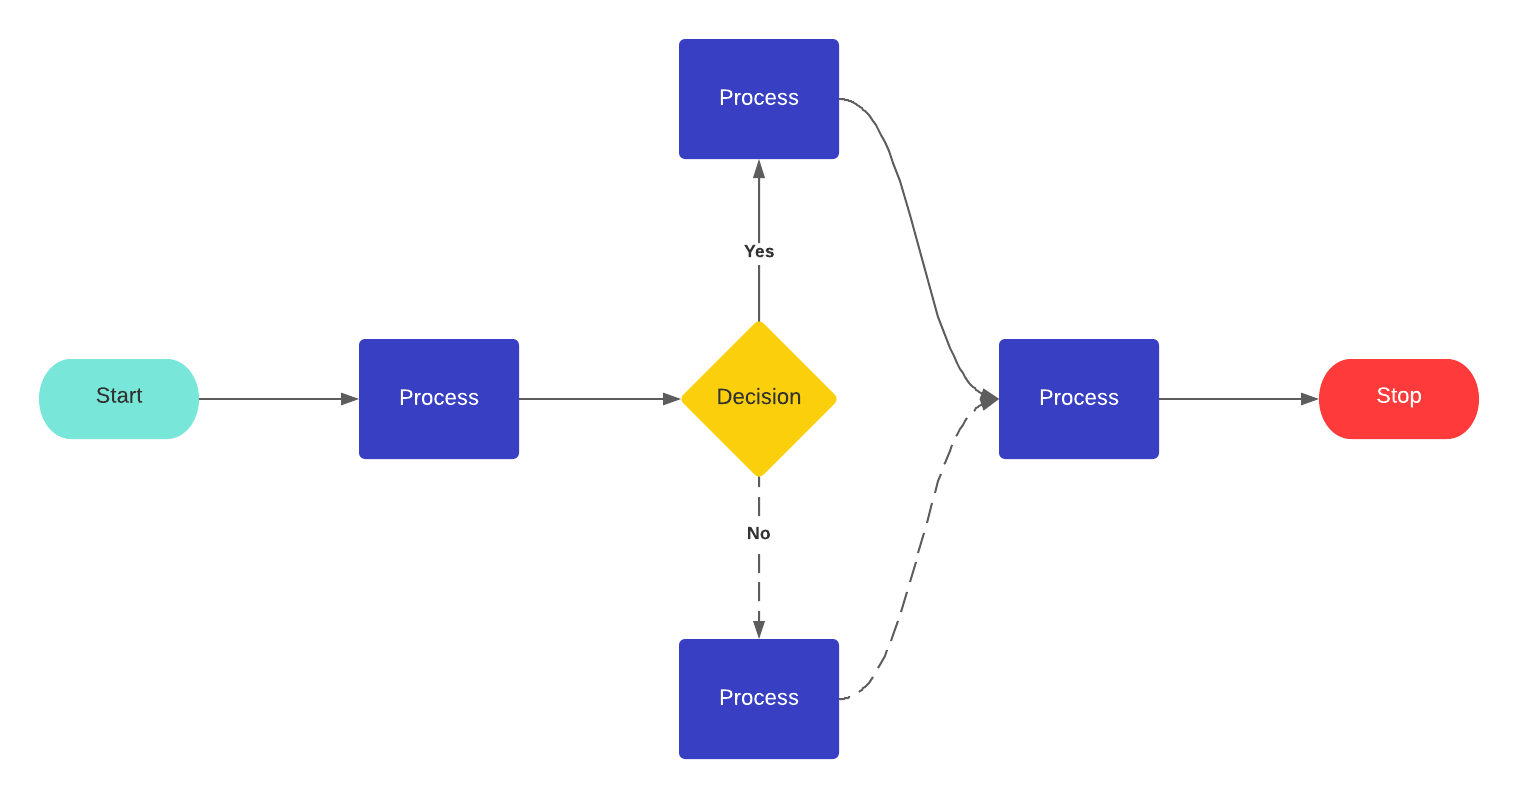
4. Flowcharts
If you’re trying to document a process in your notes, a flowchart should be your go-to. Flowcharts use various shapes and arrows to visualize each step and decision in a process. And right now you’ve got an easy decision: Start your flowchart from scratch or use a flowchart template.
If this seems like a lot to take in, don’t worry. Remember, you don’t have to start using each of these visual note taking techniques right away. Once you’re comfortable using one or two of them, try adding more to your toolbox.
Teachers and students alike, level up your whiteboarding game and increase your learning experience.
Get startedAbout Lucidspark
Lucidspark, a cloud-based virtual whiteboard, is a core component of Lucid Software's Visual Collaboration Suite. This cutting-edge digital canvas brings teams together to brainstorm, collaborate, and consolidate collective thinking into actionable next steps—all in real time. Lucid is proud to serve top businesses around the world, including customers such as Google, GE, and NBC Universal, and 99% of the Fortune 500. Lucid partners with industry leaders, including Google, Atlassian, and Microsoft. Since its founding, Lucid has received numerous awards for its products, business, and workplace culture. For more information, visit lucidspark.com.
Bring your bright ideas to life.
or continue with


By registering, you agree to our Terms of Service and you acknowledge that you have read and understand our Privacy Policy.